Last modified: 2024-11-09 14:24:25
List of important unsolved problems:
My techniques for making watch parts:
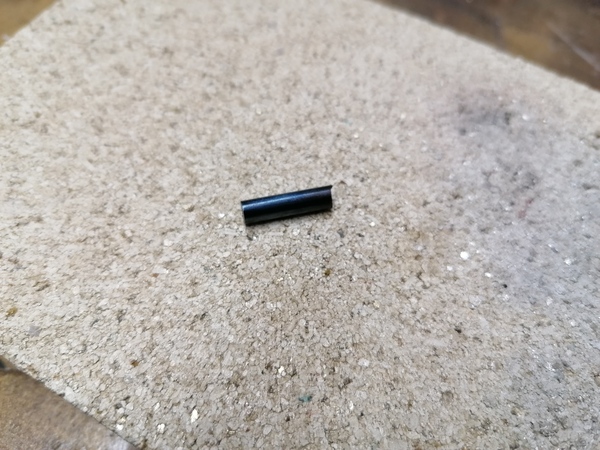
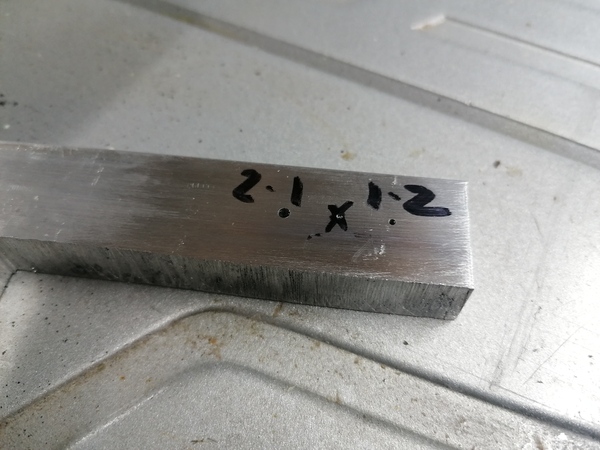
2024-01-07: I made a balance shaft.
Get a piece of sharp-ish high-speed steel, dress it with the slitting disc in the angle grinder, finish the corners with it.
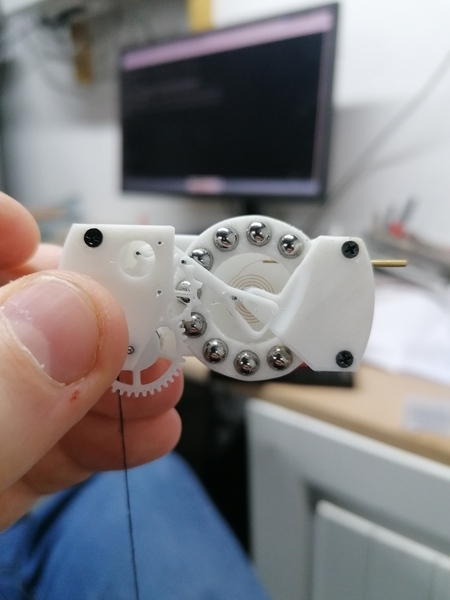
If using the hairsprings from the "Anchor" assortment, they are mostly riveted to split collets that get pushed onto the shafts.
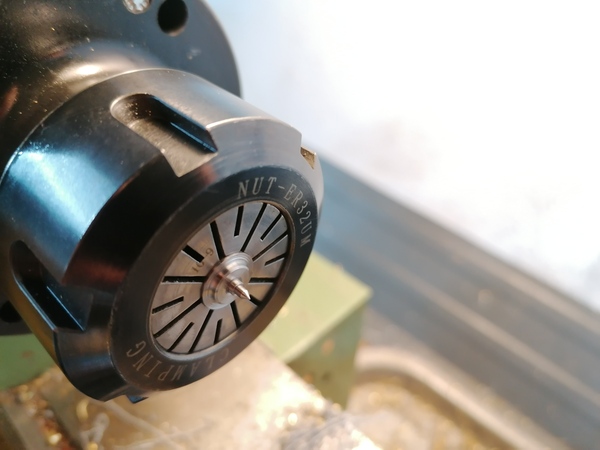
If making them myself, probably make a similar split collet, but with a cross-drilled hole for the spring to go in, and fit the spring into the hole with a tapered pin.
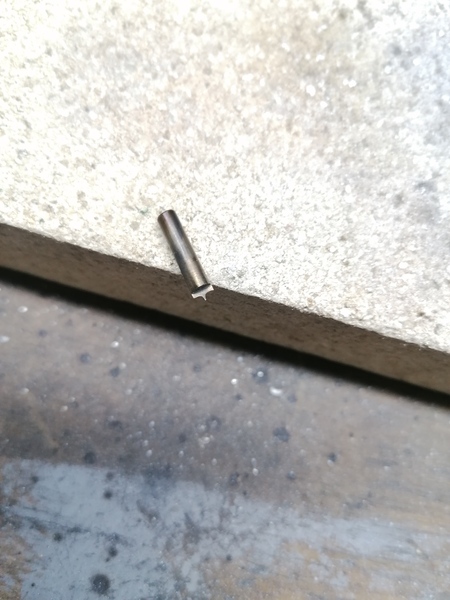
For attaching to the frame, fitting in a hole using a tapered pin seems adequate. Cut the pin to a more suitable length than the example in the pic.
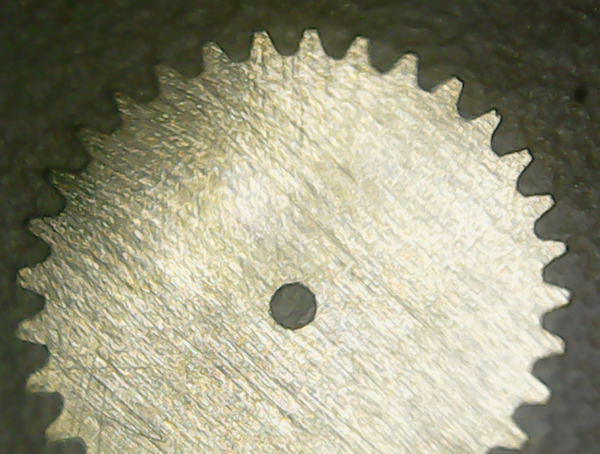
2023-12-19: I made a nice module 0.2 gear cutter.
Cut off a length of 3mm silver steel rod.
Put it in the vice on the CNC router table, pointing horizontal.
Use a 1mm end mill to put a flat to 1.5mm depth.
Now tilt the rod so that it points up slightly, and use the 1mm end mill to machine a negative of a tooth profile on to the rod.
Harden and temper.
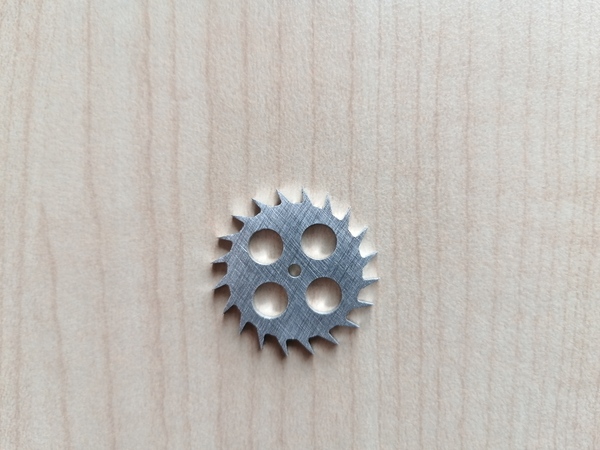
2023-09-14: I made an escape wheel using the 1mm end mill.
2023-10-05: I tried to use the superglue method to cut an escape wheel, and it got flicked off the glue. It may be better to do the crossing out straight on the end of the bar, before parting off the disc.
Put the parent rod in the collet chuck in the lathe and turn a concentric outer surface, over-size, and maybe drill the shaft hole.
Transfer the collet chuck to the CNC router, centre on the outer diameter, cut the crossing-out. Drill the shaft hole on the CNC router if not done on the lathe.
Back to the lathe, part off the crossed-out disc, ready to glue on the superglue arbor for cutting teeth.
See micromachining for more.
2023-09-08: I made a brass test gear, 33 teeth, module 0.4, 0.75mm thick, 1mm bore.
2023-11-08: I had a lot of trouble with the gear flicking off the superglue arbor, suggest cutting teeth before parting off.
2023-12-20: made some nice-ish module 0.2 gears.
(See above for how to cross out the disc before cutting the teeth).
Part off a disc of brass rod.
Glue it to the superglue arbor.
Turn to diameter. Face to thickness.
Transfer to milling machine.
Ensure that the 4th axis is running true.
Ensure that the cutter is on centre height (use the mini surface gauge).
See 4thaxis for how to use mk-gear to cut gear
teeth, but make sure there is no concentricity error for the time
being, because the Z backlash is too high.
Heat the superglue to remove the gear from the arbor, use acetone to dissolve the residue.
2023-10-07: I tried it for the first time, it worked.
2023-10-08: I did this again, it worked. Very easy process. I also tried bluing a larger part and it worked there too.
Cut off a length of silver steel slightly over the required length. Put it on the fire brick thing, and prepare a small pot of water and some tweezers. Heat the part with the big blowtorch until bright red, hold that temperature for a few seconds, and then use the tweezers to plunge it into the water.
Now take it out, sand off the scale, and switch to the smaller blowtorch. Gently apply heat intermittently until it turns a nice blue colour, and then stop and plunge it back into the water.
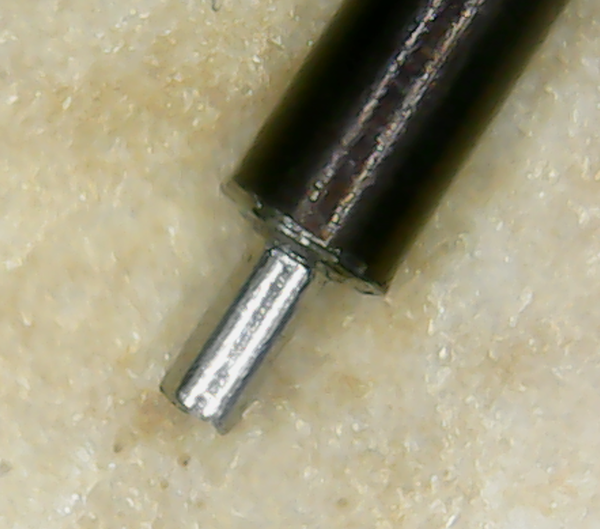
2023-09-15: I made shafts for a 2x scale escape wheel and balance wheel.
2023-10-07: I tried to make a shaft for an escape wheel.
Put blued steel rod in the collet chuck.
Use a right-hand turning tool, with a DCGT (ground) insert, with 0.2mm nose radius if possible.
Turn to the largest diameter.
Use the compound slide to turn a slight taper, if it helps, so that the gear can be hammered on to the required position.
Once the diameter for the gear seat is found, start turning the pivot at the exposed end.
Use the micrometer to measure the diameter, but don't squeeze too hard because it can damage the pivot.
Once the first pivot is in place, use the little ruler to find the required length of the shaft. Without turning the material around, start turning down the other end pivot. You'll have to leave a taper where the shoulder should be.
Once the pivot is turned down a bit, "part off" by making a deep-ish groove at the end of the work, and then break off the shaft by hand.
Take the rod stock out of the chuck, and switch to a collet that suits the most convenient clamping diameter of the shaft. Use a drill bit or similar if necessary to space out the back of the ER collet.
Now finish turning the other pivot.
If at any point the partially-made shaft bends because the metal is too soft and you took a too-greedy cut, stop the lathe, manually tap it roughly true using the soft drift, and then start the lathe and push the soft drift against the spinning part to true it up even more.
2023-10-13: I made a shaft for the pallet fork, but used the 4th axis in the milling machine instead of the lathe.
2023-10-14: I used mk-pivot to make pivots of the correct size, no taper caused by the endmill shape, and with better concentricity.
2023-11-13: I discovered that a pivot I previously made at the wrong size is 0.20mm, and seems robust enough, so that is a possible size I could make them.
Chuck the shaft in the 4th axis.
Zero the axes with X at the very end of the desired pivot, Y and Z on centre line. (Z at midpoint of eccentric centre line).
Measure the runout with a dial indicator.
Input the dial indicator readings into $high_reading, $low_reading, and $high_reading_angle in mk-pivot.
Run mk-pivot to get G-code. Run the G-code.
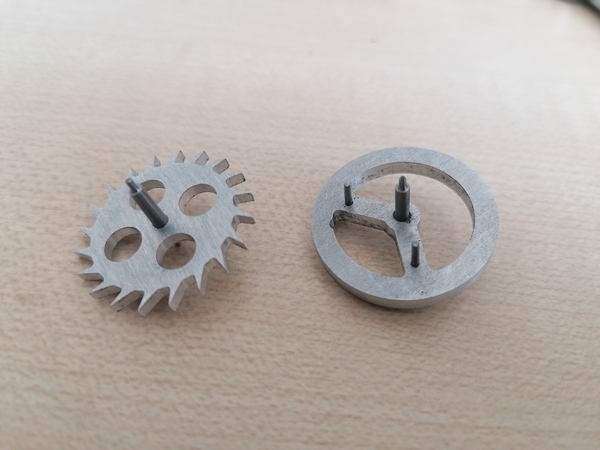
2023-09-15: I fitted shafts to the 2x scale escape wheel and balance wheel.
2023-10-13: I fitted shaft and pins to the pallet fork.
TODO: I probably want some improved staking tools.
Use a tapered reamer to slightly open up the hole, if the hole was drilled under-sized, which it should have been.
Put the gear on a flat surface with a hole in the middle.
Slide the shaft into the hole as far as it can go.
Hammer the shaft home.
If the pivot bent in this process, put the shaft (with gear) back in the lathe, and try to true it up using the soft drift. This is less likely to happen if using hardened shafts and proper staking tools.
If the gear is loose on the shaft, use Loctite 603 to secure it.
TODO: I haven't tried the following process.
Put the shaft in the chuck.
Put a pusher piece with central hole in the tailstock.
Use the tailstock to push the part onto the shaft.
2023-09-16: I made this first pass at an aluminium die block.
TODO: I haven't tried the following process.
Start with a soft material (probably aluminium). If you try to use tool steel you are in for a world of pain.
Work out which hole diameters you want and what spacing you want.
Cut a piece of (without loss of generality) aluminium roughly to size.
Mount it in the milling machine and setup your coordinate system.
Drill counter-bores (maybe 3-5mm?) in the location of each hole, stopping short of the full thickness of the material (maybe 1mm or 2mm short).
Flip the work over (or, if all the drills are long enough, don't even bother flipping it over).
Now drill the actual holes in their required locations, but importantly the holes are only 1-2mm deep, which makes it unlikely that the drills will break.
Now take the metal out of the milling machine and draw-file the surfaces.
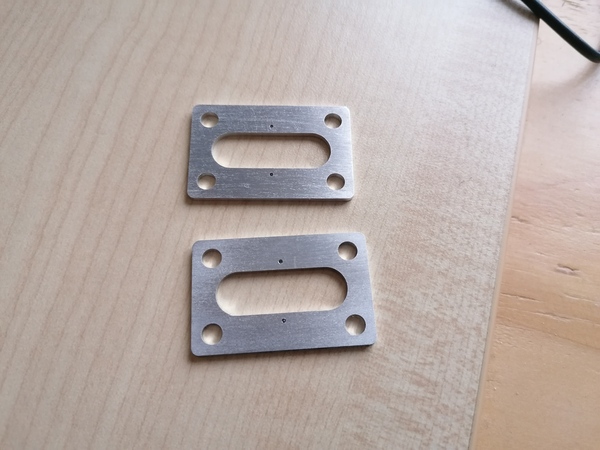
2023-09-17: I made these frame parts for the metal escapement prototype.
I just used the 1mm PCB drill and made straight holes. They worked plenty well enough, no need for tapered reaming. I expect the same process would work with the 0.5mm PCB drill. And having straight pivot holes means they won't wear out so quickly.
One of the shaft pivots was slightly over-sized so it wouldn't fit in the hole. I enlarged the hole using a 1.1mm drill in the pin vice.
I also manually used a larger drill in the pin vice to make tiny countersinks on the back side for oil cups, I don't know if they do any good though.