Last modified: 2024-08-29 14:24:33
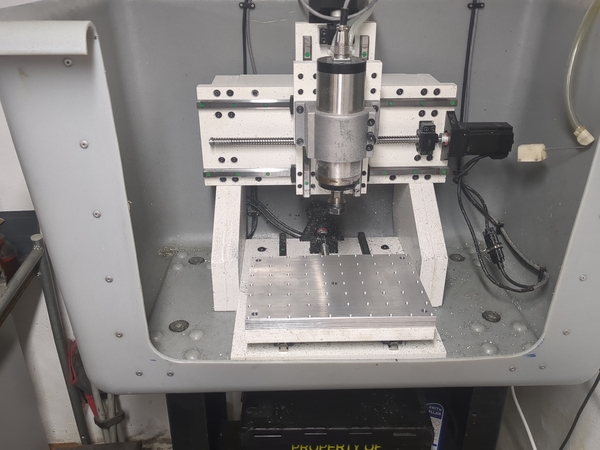
< 2024-08-26 2024-08-30 >I finished tapping the holes in the plate, deburred both sides, draw-filed both sides, and put the plate back on the machine:
That was a lot more work than I expected, but done now.
Still wants:
I put an indicator in the spindle and rotated it across the (now presumed flat) table surface.
By loosening the screws on the spindle clamp and tapping it around, I now have it so that the indicator shows the table is about 0.04mm low on the left hand side compared to the right, at a diameter of about 180mm.
And I don't have easy adjustment forwards/backwards, but it showing that the table is about 0.02mm high at the back, at the same diameter.
That sounds... basically perfect? At the diameter of a 6mm end mill that is a difference of barely more than 1 micrometer across its diameter. So why does the machined surface look like it is not trammed anywhere near this well?
I think I'll leave it for now and revisit after I've made some more parts.
< 2024-08-26 2024-08-30 >