Last modified: 2024-08-11 15:04:57
< 2024-07-26 2024-08-13 >Next steps were:
OK, earth is connected up now, and I've put a choke near the VFD on both the supply cable and the cable going out to the motor.
Next up, coolant.
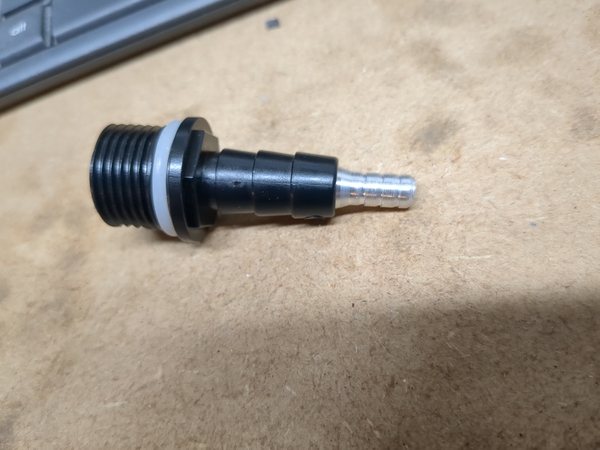
I made an aluminium barb adapter to connect the hose to the pump, it is just an interference fit, seems good:
OK, coolant is plumbed in. I really need to wire it up so that it comes on automatically when the machine is on and goes off automatically when the machine is off. The pump is very quiet so I am liable to accidentally leave it running. Ignore this for now though. The plug is on the desk, needs to be either unplugged or switched off at the wall.
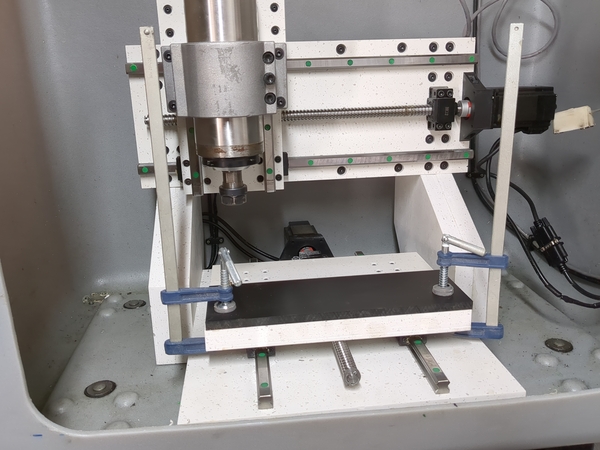
I feel like ignoring cable management inside the tub, and ignoring shimming the gantry, and making a start on some test cuts. Just need a method to fix something to the table.
Here's a piece of HDPE clamped to the table. The clamps will interfere with the frame if it moves too far, so I have quite limited cutting area.
The spindle is turning backwards, new assignment is:
And I have a piece of test gcode to run on the plastic. Let's give it a go!
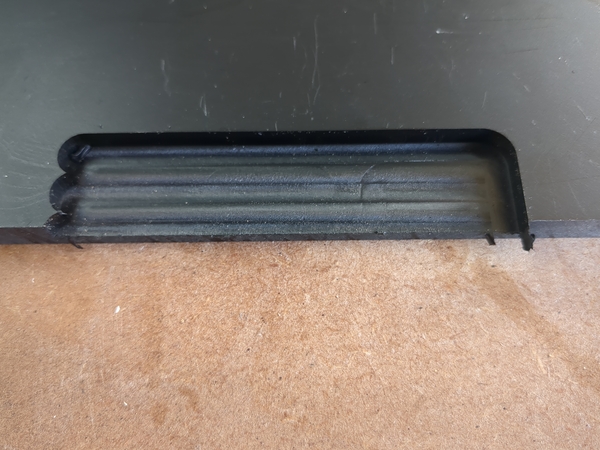
First test:
Beautiful! Really good cut, worked first time.
Let's try incrementally increasing the depth of cut until either I run out of material or something goes wrong.
2mm and 3mm depth of cut worked perfectly well too!
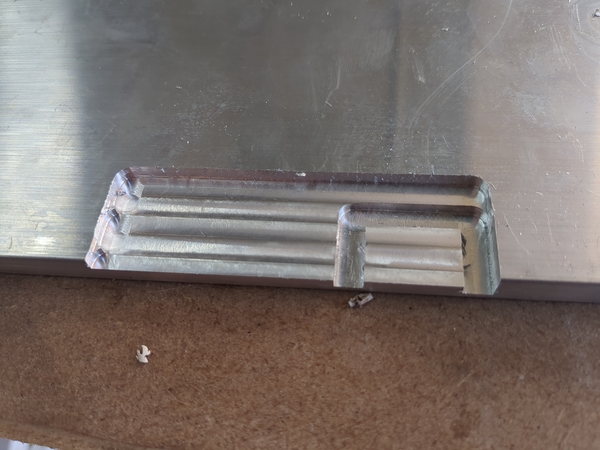
A 4mm cut would go all the way through, so I'll move over a bit and try maybe 6mm.
For a larger depth of cut the calculator was asking for a higher rpm, so I bumped it up to 11700 rpm for the bigger cut.
Worked pretty well, the step over was 5mm so I don't know why there was a thin web left standing, there should have been 1mm overlap between passes.
Maybe now some aluminium?
It suggested 16000rpm for a 4-flute 6mm cutter, but this is just way too fast, it made a melty mess, and lots of chip-weld in my nice brand new cutter.
It did cut it though. (Is it possible that my rpm is miscalibrated and it is actually doing 2x what I asked for? I don't think so. It did sound very loud though).
I've told it the max rpm is 8000 (133 Hz), now we have to reduce feed rate to 1500 mm/min, OK.
I ran that as a spring pass, and it cleaned it up a lot but again picked up some chip-weld.
Let's try 4000 rpm (67Hz). Now only 900 mm/min. I think I might be better off with a single-flute cutter. Seems a lot better. Now I'll do this at 1mm depth-of-cut.
Err, no good. It stalled.
Oh! I do have a single-flute cutter, let's try that, and 12000 rpm (200Hz).
This was much happier, but left a bit of chip weld on the walls. Does that mean higher feed rate required? Or lower? Let's try lower rpm, maybe 10000 rpm (167Hz).
Seems similar, maybe slightly better. I'll try lower feed rate as well, 750mm/min.
So now we're on 750mm/min, 10000rpm (167 Hz), and 1mm depth of cut.
I think I'm happy with this, let's try 2mm depth of cut.
It got through the cut, but there was some chip-welding on the walls. I think with maybe an air blast or flood coolant it might work better. I'm going to try running a larger test with 10000 rpm and 750 mm/min and see how it looks.
https://www.youtube.com/watch?v=kQkx1rITn44
Great success.
This is a material removal rate of 9 cm^3/min, which is higher than even the theoretical maximum of the old machine. Good. And the theoretical maximum for this machine is more like 40 cm^3/min according to the feeds and speeds calculator.
Next steps: