Last modified: 2024-04-15 20:17:44
< 2024-04-13 2024-04-16 >After 239 rounds: https://www.youtube.com/watch?v=VXTM76gQs3w
Not really improving very much. Maybe the input images are too high-resolution so training takes too long. I'm going to split the training data up into 100 different sets that each only have 1% of the data, and choose a random one each time. Will that help? Not sure. I'll try it anyway.
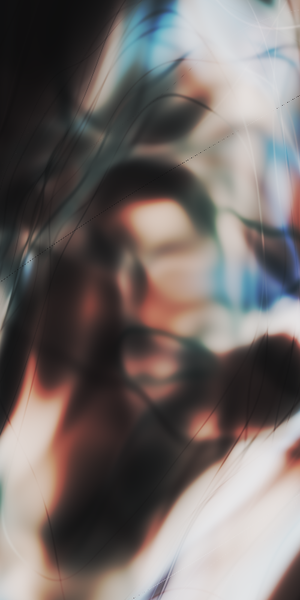
Also, this is what it looks like if you extrapolate past the trained region:
You can sort of see the face in the middle and just random patterns outside. It might look clearer if the face were trained a bit better.
The one from jes/Feynman is more interesting:
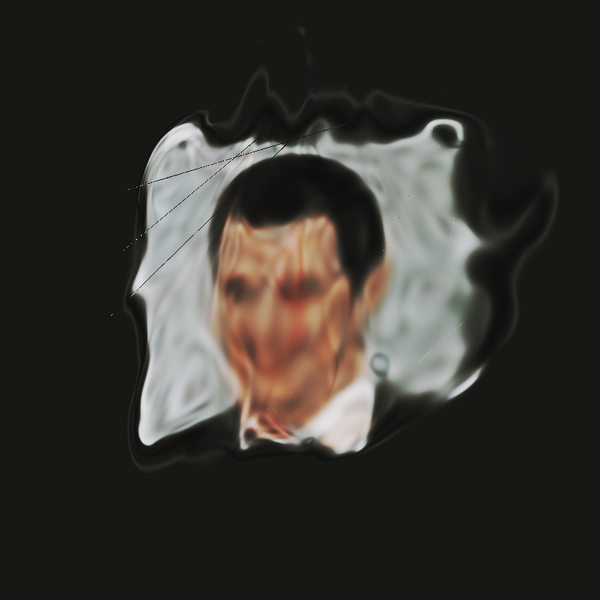
More evidence that it has learnt the pictures at 2 points in space and has coloured everything else black.
Running with only 1% of the input pixels (even though there are 100 different sets with a different 1% each) doesn't seem to work very well, it's converged on this:

But since I'm saving out the weights periodically, I can start from this point but now use 10% of the data each time, and then when that plateaus I can use 100%.
Hmm, this is not working right. It seems like even when I load the weights in from a file the training resets it? Is it setup so that the training is excessively powerful at first or something?
Reading it in and saving it straight back out gives an identical file. Not sure what is going on here.
Since I'm making such slow progress on making a clock/watch out of metal, I've been thinking that perhaps I should lower my ambitions and make a 3d-printed mechanical clock first. But some of my recent prints haven't been very satisfactory, so I thought I should do some printer improvements.
I've got a new PrusaSlicer, and fresh Prusa Mini firmware. I wanted to use Input Shaping but there is no profile from Prusa for Input Shaping with a 0.6mm nozzle so that will have to wait.
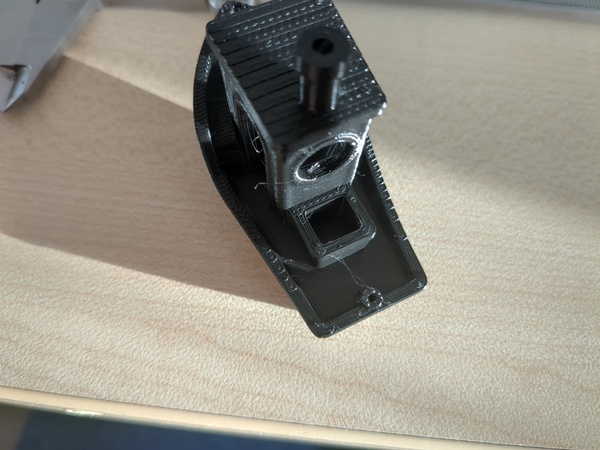
It is still showing slight under-extrusion:
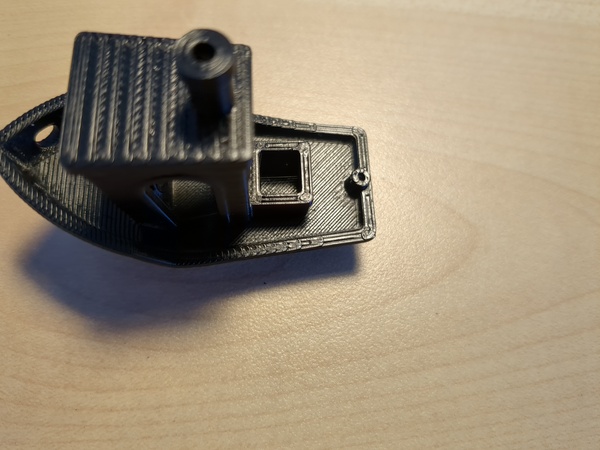
The lines at bottom left of the hull for example are not even touching each other. And on the perimeter of the "box" behind the cabin.
Possible causes:
If the filament is the wrong diameter then it's at least close enough that I can't tell.
There was some ground filament packed into the extruder gear, which I've cleaned out.
If the extruder tension screw is meant to be flush with the housing (is it?) then it was too tight by 1 or 2 turns.
And let's print another boat using the same G-code and see if it is any better.
I'm not going to reassemble the hotend because I tried doing that several times before and don't recall making any improvement. If adjusting the extruder tension and cleaning out the extruder gear doesn't fix it then I'm tempted to buy a new hotend.
Either this upgrade kit from Slice Engineering (£72 + shipping): https://www.sliceengineering.com/collections/prusa-3d-printer-upgrades/products/prusa-mini-upgrade-kit
Or just a heatbreak + heater block from Prusa (£19 + shipping): https://www.prusa3d.com/en/product/hotend-heatbreak-mini/ and https://www.prusa3d.com/en/product/hotend-heaterblock-mini/
But looking at those parts, they don't really look like they would wear out. Maybe I just need to rebuild the hotend I have more thoroughly.
https://forum.prusa3d.com/forum/postid/494614/ suggests a method of checking whether it is pushing enough filament: remove the Bowden tube from the hotend, feed filament until it is flush with the end of the Bowden tube, ask for 100mm more, and measure how many mm you get. I will do that once the second boat is done. I will also switch to the calibration cube from https://help.prusa3d.com/article/extrusion-multiplier-calibration_2257 instead of the boat.
Another comment on that thread:
I think probably most of Minis out in the wild underextrude, but as already figured, nobody seems to care.
Verdict on the 2nd boat: no improvement. So I'll try undoing the Bowden tube and see how many mm I get when I asked for 100.
I got 97.5mm. Bad! So I have 2.5% under-extrusion from the extruder, and then the default flow rate is only 95%, so the result is more like 92.6% flow rate. I'm going to print the "visual cube" with existing settings, and then one with flow rate set to 97% and see what it looks like. It might be that I just need to bump flow rate from 95% to 97%.
This page says where you can change steps/mm for the extruder in the firmware settings: https://help.prusa3d.com/article/experimental-menu-mini-mini_264396 - that is probably a better place to adjust it because it will stay the same even if I lose the PrusaSlicer settings.
First impression of the cube is that it doesn't show the artifacts nearly as badly as the boat did:
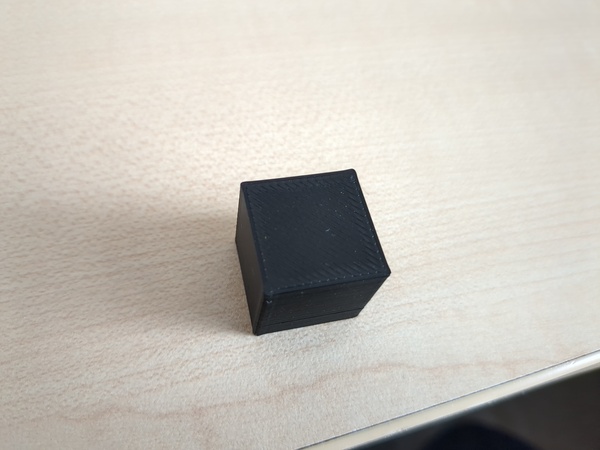
I'll do another one with flow rate set to 97% anyway, but maybe it's not a general under-extrusion problem so much as it is a problem with the flow not resuming fast enough after a retraction?
Or! Since the problem mainly made itself apparent on thin walls with no infill, maybe it's a problem with Arachne (?) not pushing out enough to fill the gap?
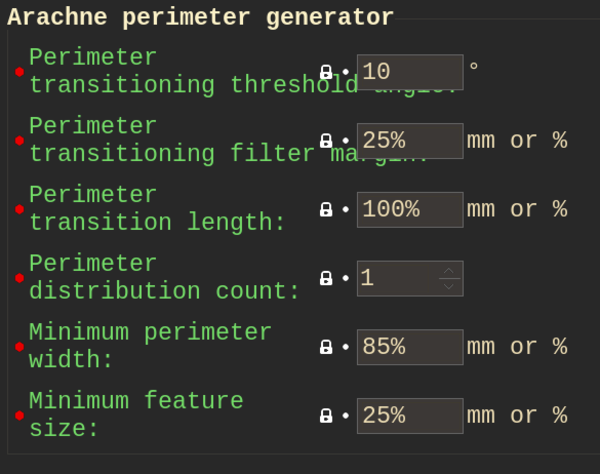
So they're saying that the old gap-filling algorithm accidentally over-extruded, which hid under-extrusion issues, and Arachne does not do that. So I wonder if setting the flow rate to 102% would actually work well? That would undo the 95% flow factor, and counteract the 2.5% under-extrusion from the extruder. Since the cube does not exhibit the problem, I'm going to print a boat with flow rate set to 102%.
This one looks like an improvement, but it actually still has some under-extrusion in the same areas as before:
Existing extruder steps/mm is 325, 325*(102/95) = 348.9. I'll set it to 350 for the time being and leave it at that for now.
The plan tomorrow is to get back to building the new CNC machine. Next steps from 2024-03-25 were:
I want to take time and pay attention to making the important edges perpendicular, and to making the square on the CNC table actually square. Take time, pay attention, and don't do a bad job.
< 2024-04-13 2024-04-16 >