Last modified: 2023-10-23 21:11:45
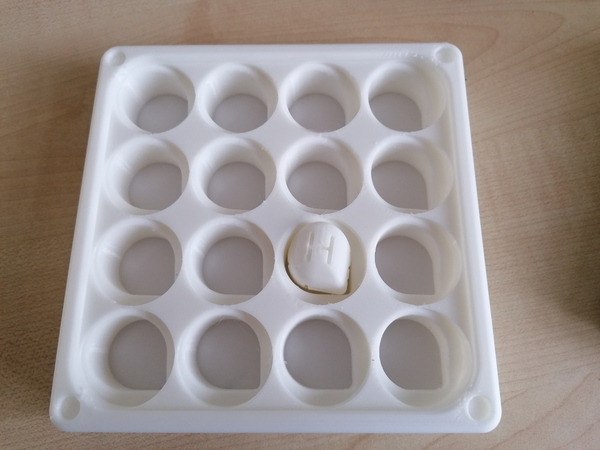
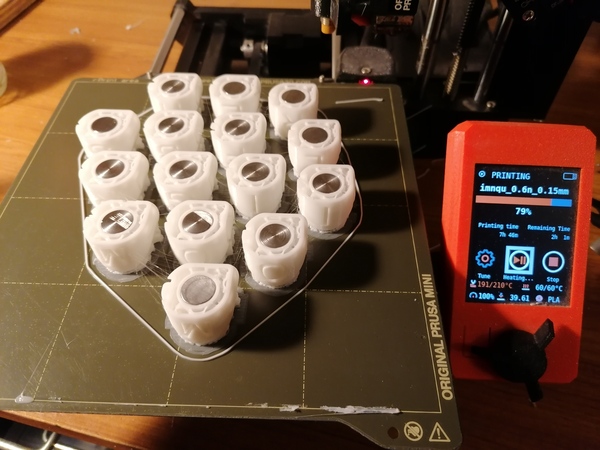
< 2023-10-22 2023-10-24 >The board printed overnight, and I printed a letter this morning:
Both at 80% scale and on the "0.15mm DETAIL" setting. The print quality is for the most part very good.
I might try printing one on a "raft", because the bottom layer isn't great. Also might make the letter larger as there is quite a lot of slop in it. I reckon there's about 1.6mm gap, and the cube is 24mm across, so to take up half the gap the cube needs to be 24.8/24 = 1.0333x as big. 1.0333 * 80 = 82.6666, so I need to print it at about 82.6% scale.
Also it almost certainly wants a weight inside. So I'll go and cut a bit of 12mm rod. I cut the rod with the angle grinder and then faced it to length in the 3-jaw chuck in the lathe. Taking it out, measuring it, putting it back in, taking a bit more off, etc.
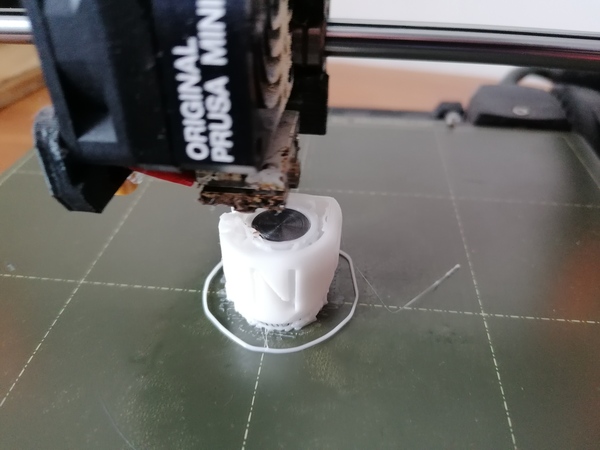
So let's try the same cube print, but with a raft, 82.6% scale, and a rod inside.
If you right click on a layer height in PrusaSlicer you can pick "pause print at layer".
On the first attempt the nozzle jammed, I'm guessing some of the blue fibrous stuff was stuck in the hotend.
I cleared it out a bit and then it worked. Here it is just after I put the rod in:
There is a discontinuity at the pause layer, like it was under-extruding when it resumed. This will obviously not be as bad if I do all 16 in one build plate because then only one of them will suffer. If I could work out what order it would resume them in, I could make it resume on some dummy part to use up the under-extrusion and then print all the cubes properly.
It's not obvious that the raft is an improvement.
Here's the comparison after cleaning up with a knife:
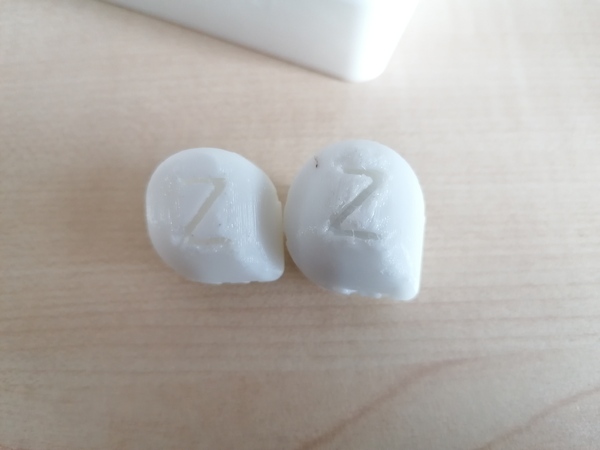
I could consider trying to print them in 2 halves and glue them together after, not sure that would be better though.
As for how it works... well it does work better than with the cube that is too small and light. It still doesn't work as well as the one with the full-diameter ramp though. But I can't really put that in the game because then 2 cubes could get stuck on one ramp. Maybe this is good enough? I reckon make 15 more metal rods, print the 15 other letter pieces, and see how it goes.
I can make an initial lid by using hexagonal infill or something to let you look through. I probably want some frosted perspex for the real one though.
So, next jobs on Boggle:
It's a 9h45 print, and the pause is about 3/4 of the way up, so maybe I expect the pause to be after about 7h30? So I could actually start it going before I go out, and it still won't be paused by the time I get back. I'm going to start it printing and then go and make some rods.
It jammed up again. I think the issue is at 0.15mm layer height it starts off too close to the bed and can't force anything out, and then grinds filament until it can't extrude anything. I've mode up the "live adjust Z" and will see how it goes.
Yes, looks to be putting down a decent first layer.
I've made 15 rods:
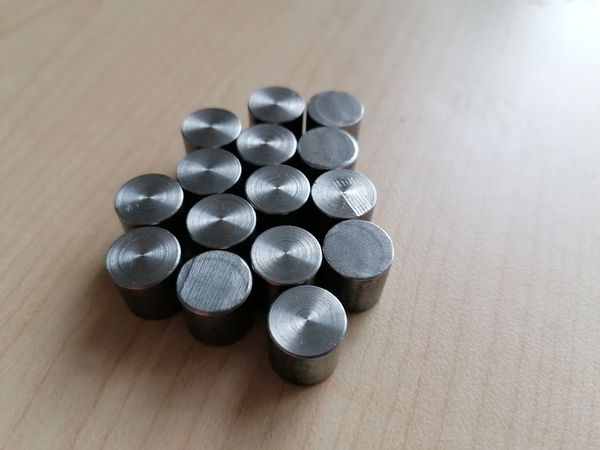
I cut them to length with the bandsaw, with the fence, but they weren't super consistent, so some of them ended up slightly too short. That's why only some of them have lathe marks on the ends. They'll all be fine though.
The bandsaw cuts pretty well though. I reckon this was definitely quicker than hacksawing, and the fence means it's more precise too (albeit not very precise). Not sure if it's quicker than angle-grinding, but it's easier.
It paused at 79%, after 7h46m and with 2h01m remaining.
I noticed it actually does say in the slicer what timestamp it's going to pause at, but the formatting is janky and it only shows when you hover over the position in the vertical layer slider thing. I put the pause at layer Z=19.32, which might be one layer early, not sure, but I was very keen not to put it one layer too late. Note this is with 2 raft layers (and 82.6% scale). If I do it at the same Z height with no raft layers, or different scale, it will obviously be wrong.
Great success:
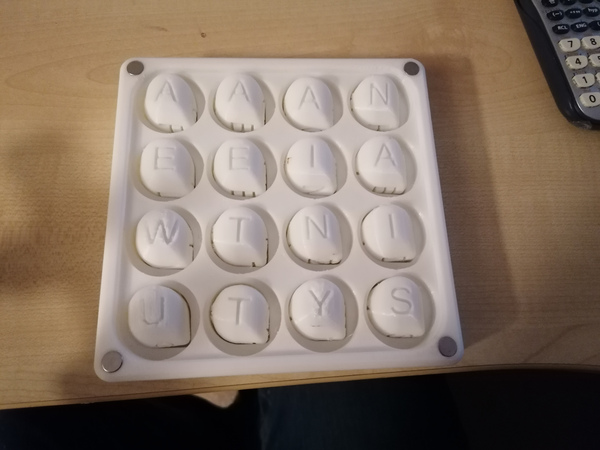
I just chucked all the tiles on there and shook it a little bit. I haven't even cleaned up the bottom faces yet. I think this is going to be satisfactory.
This is actually really good. It has a really satisfying weight, thanks to the steel rods, and the print quality (modulo the bottom faces...) is fantastic.
I tried to paint the letters on the 80% cube with no weight:
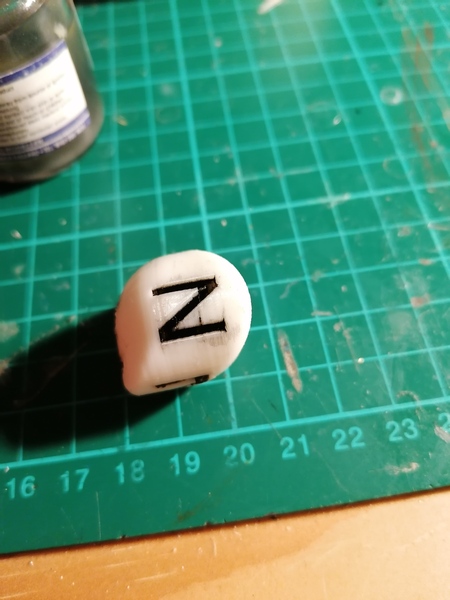
It's not a million miles away from acceptable, just needs care and a steady hand. And maybe a better technique for mopping up the paint.
That's with the (glossy?) black paint labelled "E".
I've enlarged the shaft holes to 6mm. They'll then need to be turned down to 5mm for the portions that go through the bearings, and this is good because it will locate the bearings properly. For collars I'm just going to use a 3d-printed ring that presses onto the shaft. I wonder if it should be split, and made slightly under-size, so that it is held in place by springing shut on the shaft?
I'll need a version for 5mm and a version for 6mm.
6mm at the front of the Geneva-driven wheel:
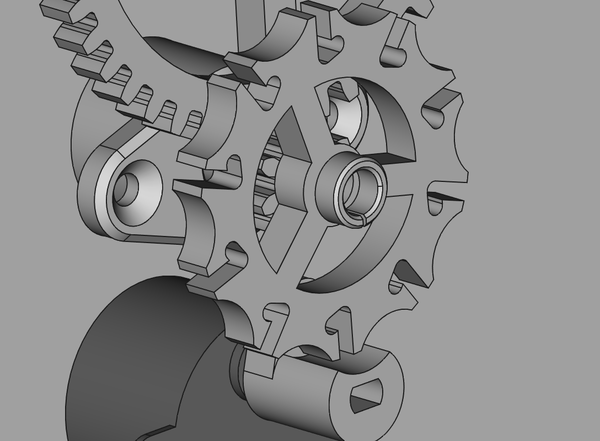
And there's 5mm at the back of the bearing block (unseen in pic).
Actually, maybe I leave the shaft holes at 5mm, and just let the 6mm be the shoulder that the bearings and gears seat against? I think I'll change them back to 5mm. And now all collars are 5mm:
Also, must remember that the one-way Geneva drive is backwards! It will make the clock run in reverse. I will reverse that...
So an updated plan is:
On Boggle:
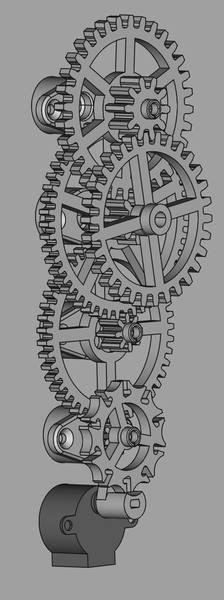
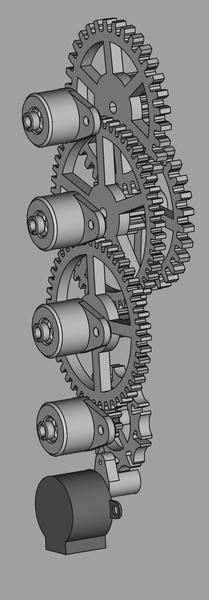
On the stepper motor clock:
On the watch project:
On the motorcycle:
On SCAMP:
slc and slangi are functioning correctly on real hardwareOther: