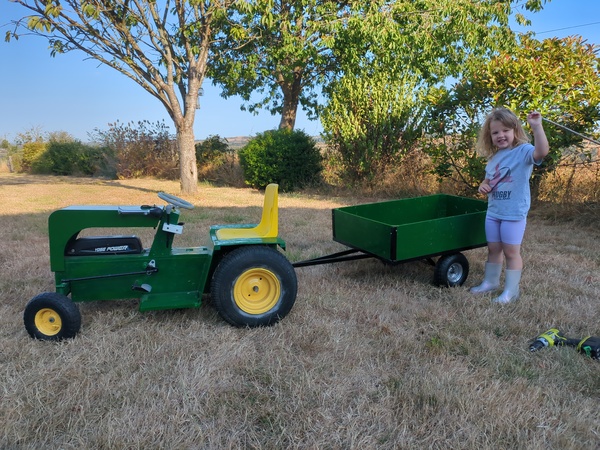
Over the last couple of weeks I've built a trailer for the tractor.
I started by drawing up a basic design in FreeCAD:
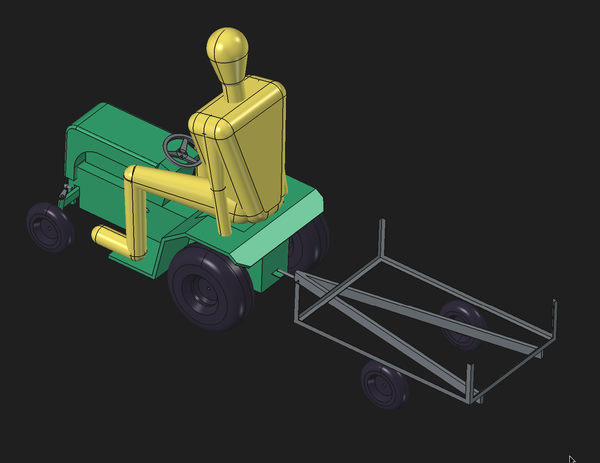
I didn't bother modelling the attachment for the axle because I hadn't worked out how I would do it yet.
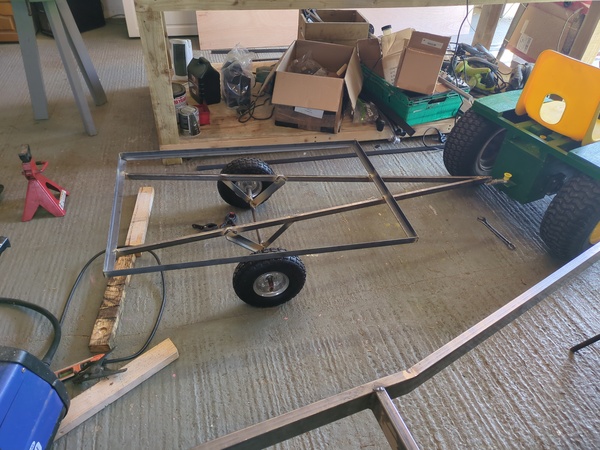
I then ordered the wheels and the steel I needed and welded up the frame:
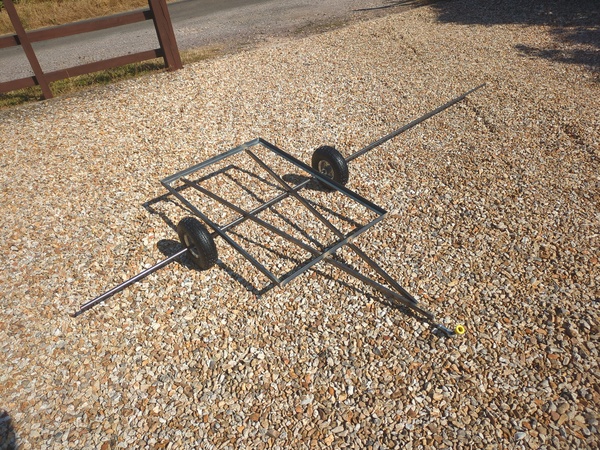
I actually made an error in ordering the steel and ordered much smaller box section than I intended. But no big deal, it still works. Probably a benefit because it makes it lighter.
The wheels are sack truck wheels, the same as I used for the front wheels of the tractor.
Then a couple of pieces of angle iron at each side to hold the axle:
A plywood box to go inside it:
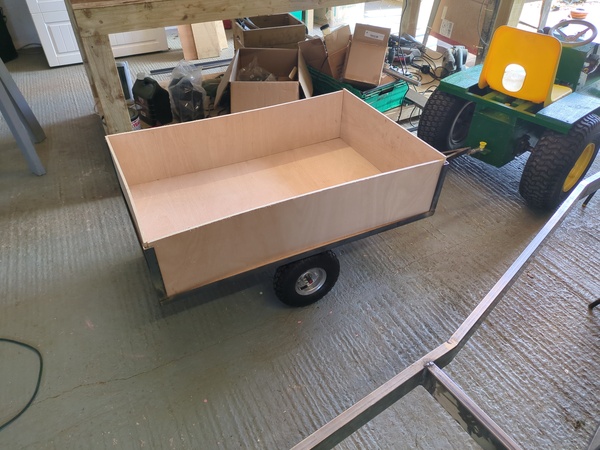
Which I then trimmed to match the height of the frame and screwed into the corners with triangular battens.
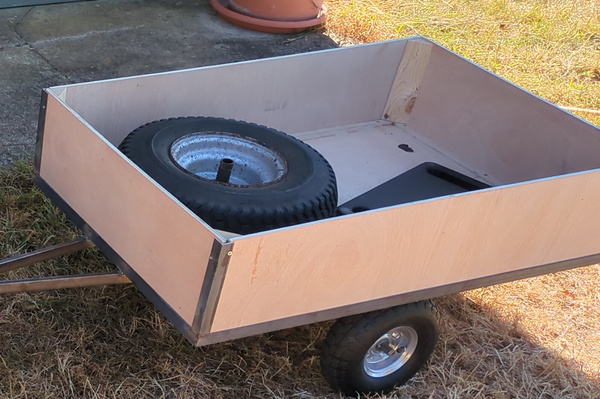
And then dismantle it and paint the parts.
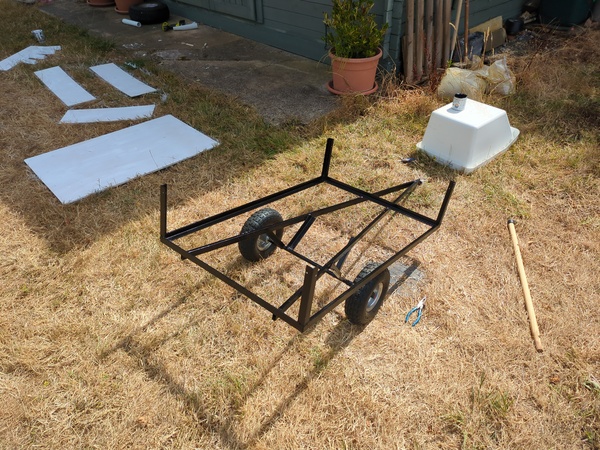
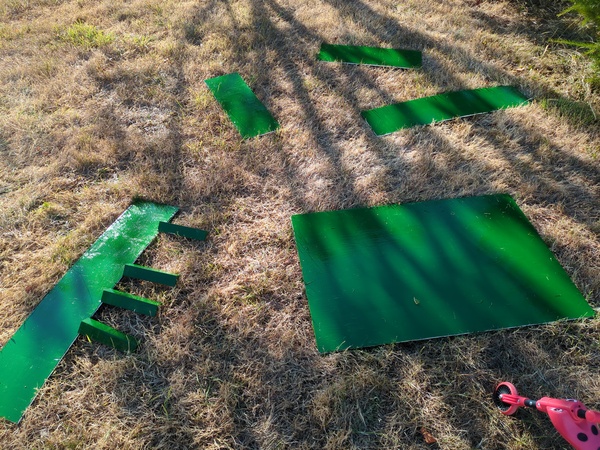
I thought it would be fun and interesting to do the painting outside in the garden, but this was a terrible idea. Loads of pieces of dead grass stuck to the paint and ruined the finish, plus leaving it out in the sun to dry meant it dried too quickly and caused loads of cracking and crazing. I would not do this again. I should have just painted it in the garage on the workbench.
But it's only a trailer, doesn't really matter. The paint is only there to slow down the rotting of the wood. All is temporary.
To attach the trailer, the tractor has a piece of angle iron with a hole in it, and the trailer has a rose joint for a towing hitch, and then a clevis pin with an R-clip is used to join them together:
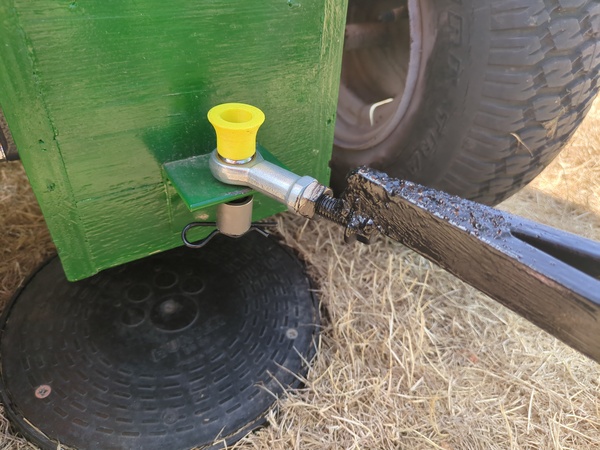
The spacer underneath is there so that when the tongue weight becomes negative the trailer doesn't tip up too much.
I know this is attached in single shear and double shear would be better (e.g. two pieces of angle iron and the rose joint goes between them). But I don't care.
I think the weakest point on the trailer is where the bolt is welded to the frame, that would probably break off if there were too much tongue weight, although I have stood on top of it and it didn't break so is probably fine for a toy trailer.
So, great success, all finished.
Lucy is still too afraid to drive the tractor herself (even without the trailer attached) but for now she is content to sit on my knee while I drive it.
We hope to make good use of the trailer later this year when we cut the hedges, to carry the hedge cuttings down to the bottom of the garden.
I have made a couple of modifications to the tractor since the previous post.
As many people predicted, the original weld holding the sprocket to the axle was insufficient and sheared off:
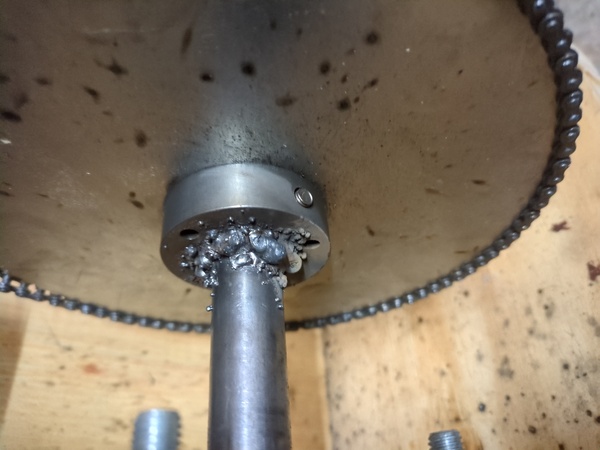
I subsequently welded it back on, but much more strongly because I now know how to use the settings on the welder. And it has been fine since then.
And the front chain kept losing tension and coming off the sprockets. Initially I experimented with adding an idler sprocket to increase the wrap angle, but this didn't solve the problem.
Eventually I realised the problem was that the countershaft was getting cocked diagonally on its mounts, so I added a piece of steel to stop it moving:
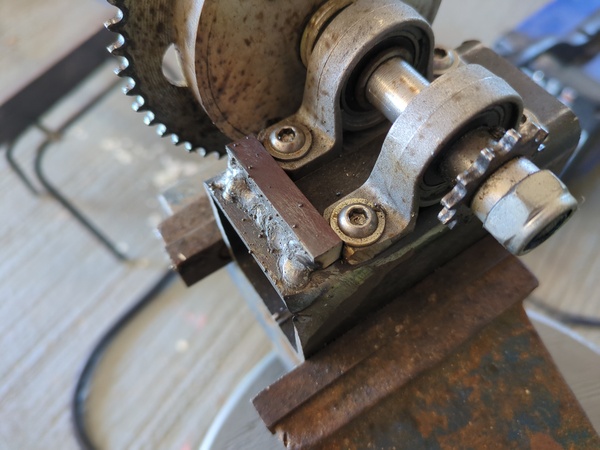
The issue was that the chain on the left-hand sprocket was pulling forwards, and on the right-hand sprocket was pulling backwards, so there was an enormous torque on the mounts for the bearing blocks, so one would slide forwards and one would slide backwards, and then the sprockets were misaligned and they would keep pulling the chain off. With this piece of steel welded in place the bearing blocks are no longer free to move, so the sprockets stay aligned and the chain stays on.
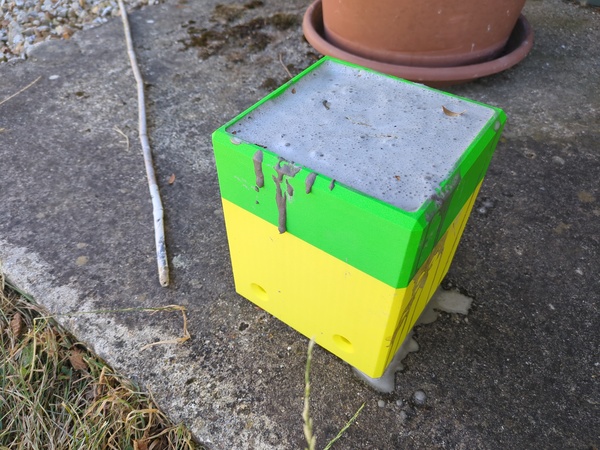
The tractor still understeers quite badly due to having an extreme rear bias on the weight distribution, especially if you're an adult (because your body weight is directly over the rear axle). So the next modification (currently untested) is to add this ~10kg block of concrete inside the chassis at the front to increase the weight on the front axle: