
On Thursday night I had an opportunity to try out my motorised PiKon telescope for the first time. Emma and I drove to a cemetery that is about 5 minutes away. It is not an ideal astronomy spot, but it is better than our back garden as it is a bit further from trees, tall buildings, and street lights.
The first step upon arrival is levelling the telescope with the adjustable feet. This is required so that the horizontal rotation does not contribute to vertical rotation, and vice versa.
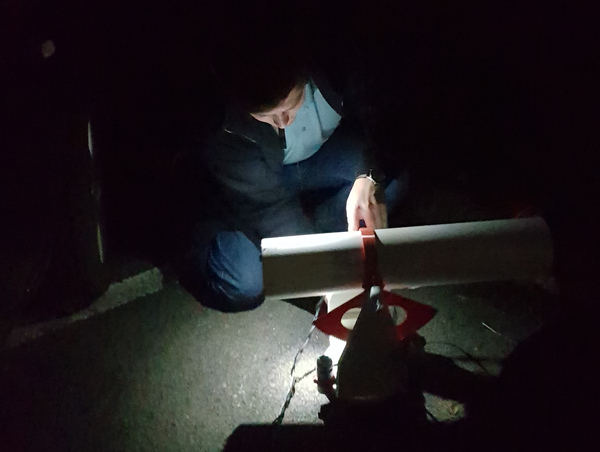
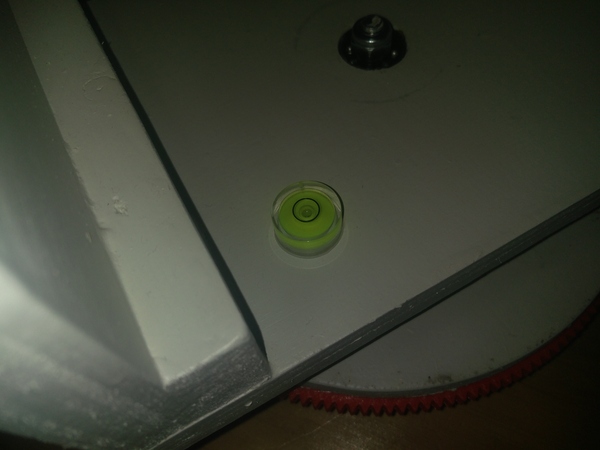
I have glued a small circular spirit level indicator onto the base of the telescope to make this easier.
With the telescope levelled, it's time to boot it up and get it talking to the laptop. I was disappointed by Ubuntu's wifi management interface. I was hoping to be able to start either a wifi "hotspot", or an ad-hoc wifi network, and get the laptop and the Raspberry Pi talking directly to each other. Unfortunately, this is too hard, and the easiest way I found to do it was to setup a hotspot on my phone, and have both the laptop and the Pi connect to the phone.
Finding the moon
We can then set the initial aim of the telescope by sighting along it from the base, and turning it until it seems to be pointed at the moon. It could probably do with a spotting scope on the side, pointed in the same direction but with much lower magnification.
Having pointed the telescope vaguely near the moon, we have to try to find the moon in the sky so that we have a known direction to calibrate the motorised mount against. The telescope was not focused at this point, which makes looking at stars impossible. However, this turned out to be helpful for finding the moon. Because the telescope was out of focus, the light from the moon is spread out over a large area, which means we only need to find some of the light from the moon, and then drop the exposure so that we see a gradient across the field of view. Finding the moon is then as simple as repeatedly following the gradient towards the light, and dropping the exposure as we get closer to the moon, until we reach it.
I didn't take any pictures of this process, so you'll just have to use your imagination.
Having found the moon, I manually dragged the focusing arm in and out to get it close to focused, so that the servo's range of movement can be used to fine tune it. This manual setup should only be required once, because the focal length of the mirror never changes, and all objects in space are almost-infinitely far away, so we will only ever need to do fine adjustments. Just in case the telescope ever gets dismantled, I have marked the location of the focusing arm so that it can be reinstalled in the right place to avoid having to recalibrate it.
I was eventually delighted to find this picture on the screen:
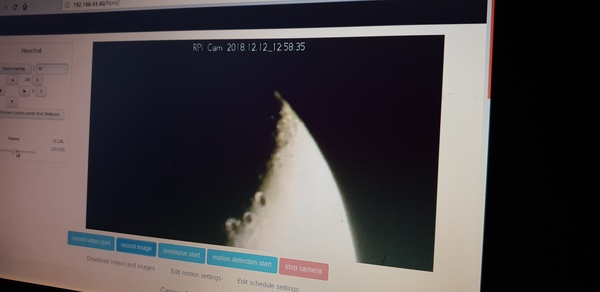
My homemade telescope is actually receiving light that has bounced off the moon, and magnifying and focusing it well enough to make out the craters on the surface, using little more than a Raspberry Pi and a mirror! What a world we live in.
Now that we're pointing at the moon, we can use the "Receive current coords from Stellarium" button in the UI to tell the control software where it is currently pointing (I have a fork of RPi Cam Web Interface that adds the PiKonTroll panel to the left of the camera view, shown in above pic). After that, Stellarium and the telescope are in sync, and a.) the telescope should track the point in the sky that it is looking at as the Earth rotates underneath it, and b.) the telescope should be able to aim at any object Stellarium tells it to with no more manual calibration required.
I tried to focus it a bit better, but even with the gear reduction on the servo, it was extremely sensitive. Only about the middle 10% of the servo range was actually useful.
Photographing the moon
The telescope wasn't quite tracking the moon properly, and at the time I couldn't work out why. The moon was slowly "drifting" in the frame. The motors were moving as if they were tracking the sky, but it wasn't quite synced up. I later realised that the time on the Raspberry Pi was set wrong, which throws off all the calculations about where things are in the sky. I'll have to remember to synchronise the clock in future.
We got this picture of the moon:
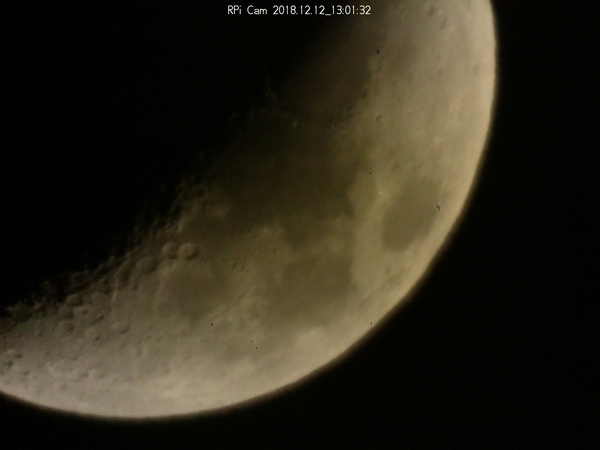
As you can see, there is still room for improvement on the focusing, but it's a good start.
I like to think of this as the First Light image.
The first light image is normally of little scientific interest and is of poor quality, since the various telescope elements are yet to be adjusted for optimum efficiency. Despite this, a first light is always a moment of great excitement, both for the people who design and build the telescope and for the astronomical community, who may have anticipated the moment for many years while the telescope was under construction.
Mostly this is accurate, although I am not sure how excited the astronomical community is.
You may also notice some strange spots on the image:
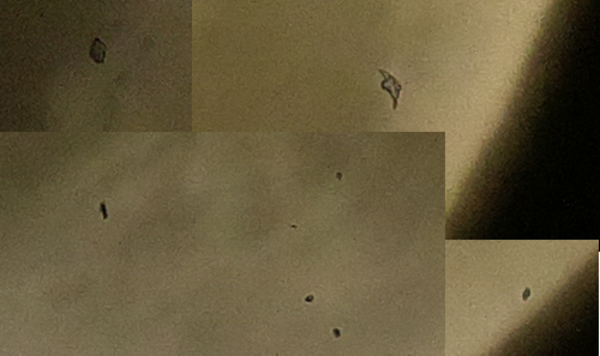
These are most likely caused by dust on the sensor, because the sensor is open to the air and I have not yet got any sort of "lens cap" to keep things from going inside. I don't think the spots could be caused by dust on the mirror (although there definitely is some dust on the mirror), because they are unaffected by focusing. This is unfortunate as the sensor is very delicate and I am not confident that I can clean it without making it worse. I'm going to leave it alone for the time being, and eventually I might try rinsing it in isopropyl alcohol. In the worst case I break it and upgrade to the newer Raspberry Pi camera which has a higher resolution anyway.
Focusing improvements
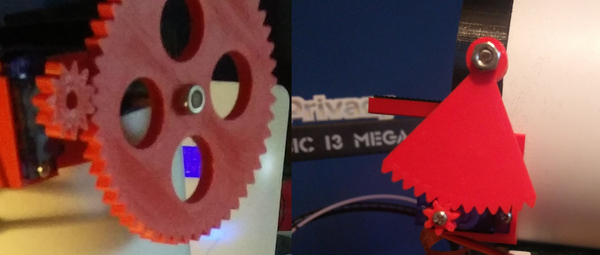
I have printed new gears for the servo which raise (or lower?) the gear ratio from 4.5:1 (left) to 10.3:1 (right). More than twice as good! But still, only about 20% of the servo range will be useful, and I can't really print a smaller gear than the one that is now on the servo. That gives us about 350 "steps" of useful servo range, and with some UI improvements to make them easier to access precisely (instead of just blindly dragging a slider with no numeric feedback), it will at least be better than it was.
A Bahtinov mask can be used to focus on smaller objects. This is a partially-opaque filter to be placed in front of the "objective" of the telescope, to deliberately create diffraction spikes at certain angles. Correct focus is achieved when the "straight" diffraction spike runs directly through the centre of the two angled spikes, at which point the mask can be removed. GIF from Wikipedia:

I have designed one suitable for fitting over the end of a PiKon telescope (in particular, the PiKon needs the Bahtinov mask to have a hole in the middle for the focusing arm to stick through):
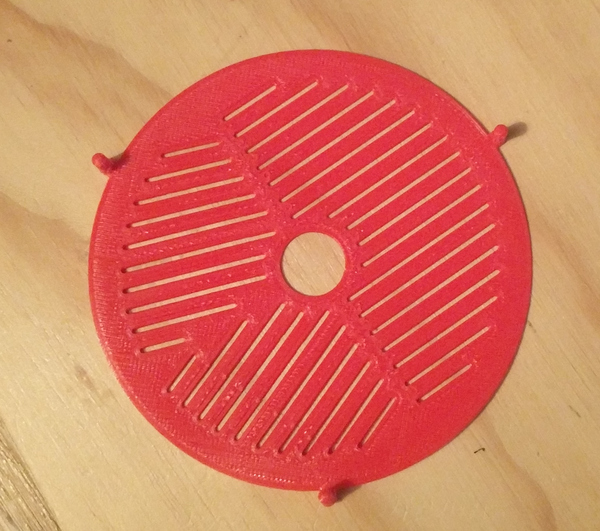
I have not yet tested it so it is possible that it doesn't work, but I expect it does work. You can download the STL file if you want to print one.
Moving on
Just as we were about to try to take some pictures of Mars from the cemetery, a car pulled up next to us. It was a man from the council telling us that we need to leave as the cemetery is about to be closed. What a fascist, I had no idea it got closed at night time. What are our council taxes paying for if we can't even use the facilities? Anyway, we packed up and left.
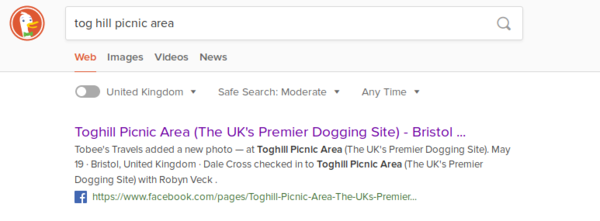
The next place that I had in mind for astronomy is "Tog Hill picnic area". It is a small car park just off the A420. When we arrived we were surprised to find that there were a lot of other cars in the car park. Who goes for a picnic in the dark? A chap parked his car next to us as Emma was levelling the telescope and asked her if it was a heater, but we didn't think anything of it and started trying to find the moon again.
Eventually a man parked his van in front of the telescope so we had to move it once more. As I was moving the telescope he remarked to me "you know what this is don't you? it's a dogging site" in a thick Welsh accent. I suppose that explains why there are so many cars there, and why some of them have the interior lights on. This, combined with the constant commotion of people coming and going, and the surprising number of street lights that were around, meant that we couldn't really get comfortable and we quickly left.
It is apparently "the UK's premier dogging site". Who knew?
So we won't be going back to Tog Hill picnic area. Not with the telescope, at least.