Last modified: 2023-12-26 20:54:51
< 2023-12-24 2023-12-27 >Improvements required were:
For a next pass I reckon machine the parts on the router.
The lower piece will have a 0.6mm deep step around the outside for the upper piece to snap into, and there will be 0.4mm depth for the piano wire.
The hook onto the arbor can stay as it is for now, but the hook at the outside will be a feature machined into the outside of the lower piece.
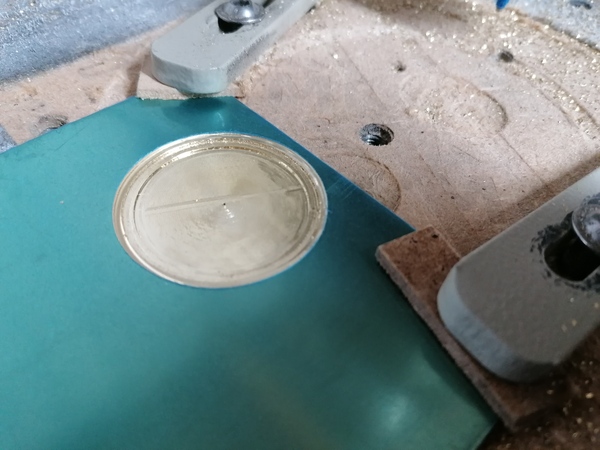
Looks reasonably sensible, but FreeCAD decided to put a big gouge right through the bottom of it:
And I think Z=0 was too low.
So now this needs a hook on the outside, and then cutting out.
I cocked up the Z zero again on the hook:
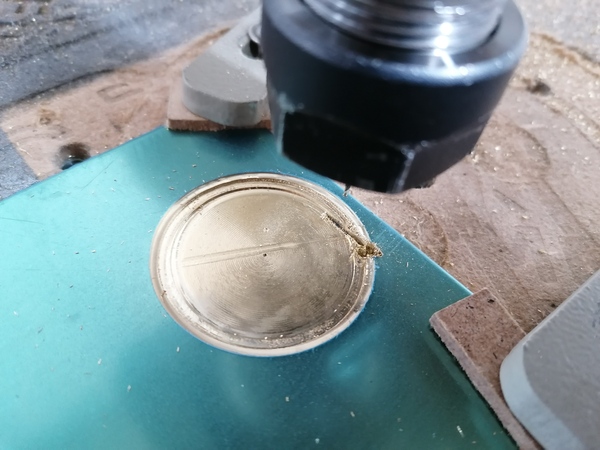
I referenced it to the bottom surface of the barrel, but set that as Z=0 instead of Z=-1.
I'm quite impressed that the tool didn't break.
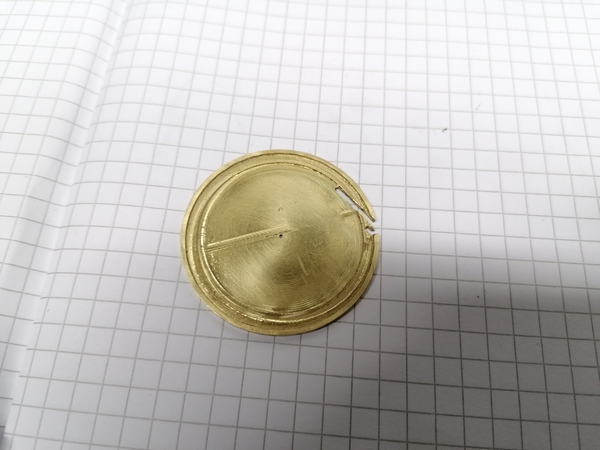
Not very good. It is 1.7mm thick on one side and 1.5mm on the other, so the table was pretty far out of level. Also the register that the cap is meant to click into is not very round, obviously the hook went all the way through instead of only down to the bottom surface, there is a gouge in the bottom.
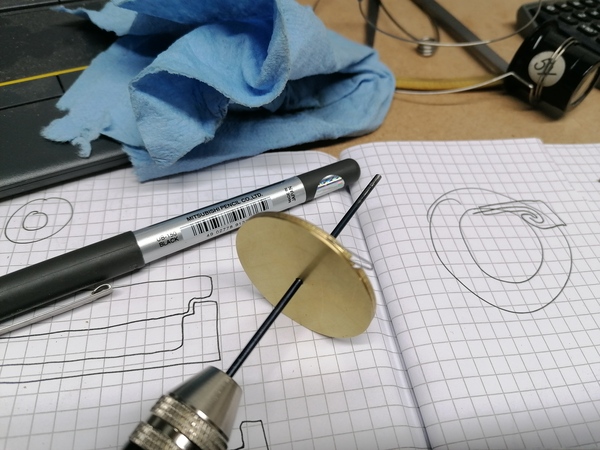
I made the cap on the lathe, out of the other cap:
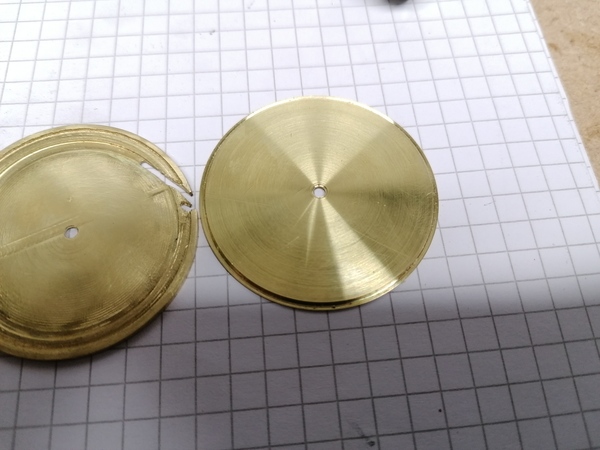
I used the superglue arbor in the 4-jaw chuck, to centre it on the existing 2mm bore.
They are a nice snap-fit together! Great.
Let's try and get the spring inside.
It works!!!
And much better than the previous one, because it doesn't need to be clamped shut in the vice. The snap-fit holds itself shut.
The bore isn't quite perpendicular but I think that is caused by error in centering the 4th axis. Or maybe because the CNC router doesn't drill straight? Or maybe because I didn't drill straight when opening up the bore by hand?
I haven't formed the hook to fit the hook feature on the barrel yet, but it looks like it would obviously work.
How many turns for a full wind? I think I managed to put about 8 turns on it before it started binding up. The inner coils were riding over each other again. It looks like the loose end of the central hook is machining a groove into the barrel cap. Maybe that is creating space for the coils to ride over each other?
Maybe instead of the wire being hooked directly to the arbor, there should be some central hub that locates it in the barrel and retains the wire, without giving it the chance to touch either the barrel body or the cap.
What have I learnt so far today?
I reckon the next thing to try is make a central hub and Loctite it onto the shaft. Drill out the holes in the end cap, and make the hub locate in the new holes, like this:
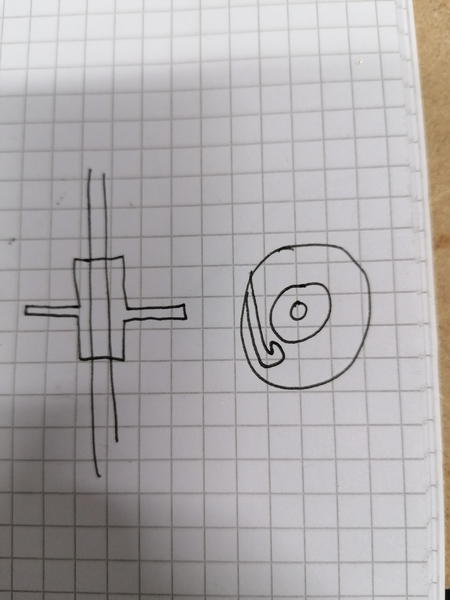
Although that still looks like the end of the wire could machine a groove in the cap. Maybe we make the hook for the wire extend into the taller central part, so there is nothing for it to rub on?
Looking at this picture again:
I realised that one of the steps inside the main part of the barrel is unnecessary. If you let the cap seat against its rim, then that is enough. Although that does then mean that the cap needs to have a feature to allow the hook of the wire to pass to the outside of the barrel, but that's no big deal.
Anyway, next step is to make a hub to hold the inner part of the wire. And if I made another barrel at any point (very likely) then it can have one less step.
Also, might be worth looking at the tram on the CNC router. Possibly my stiffening bar has made it worse.
Very handy, Chronova Engineering has this video about making a chronometer escapement: https://www.youtube.com/watch?v=P7SlhdJp5qE
Useful demonstrations of techniques including: