
I recently learnt about the Markforged Metal-X 3d printer from a post on 3DP Reviews. It costs $100k USD, and can print metal objects. As far as I can tell, it is essentially an ordinary FDM printer, with a special filament that contains a high percentage of metal powder held together with a "binder". After printing, the part is washed in a solvent to remove most of the binder, and finally it is heated in a furnace to sinter the metal powder together.
There's a good video giving an explanation.
I got very excited by how simple it looks in the video, and I'd like to be able to DIY this process without spending the $100k. This blog post is everything I currently know about what would be required.
1. Printing
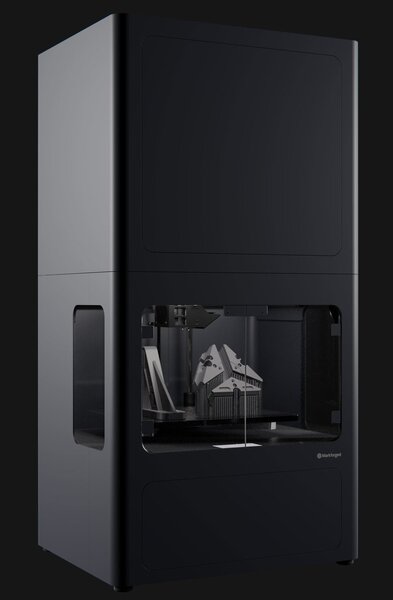
The Metal-X system has a dual-extruder printer, with a ceramic material printed as an interface layer between the metal support material and the metal part. I understand that the ceramic material turns to a powder in the furnace, which allows easy separation of the part from its supports.

But we don't need to worry about detaching the support material. We can worry about that later, if we can get the rest of it to work. A single extruder will do to start with.
The Markforged printer has a heated build chamber. I'm not sure if this is necessary, or if it's just expected as standard when you're dropping $100k on a printer. I don't know what temperature the filament is printed at, but I expect it's not too much higher than normal 3d printing temperatures, as the printing stage doesn't actually have to melt the metal, it just needs to extrude the binder material.
The part that comes out of the printer is considered "green", and is about 80% metal (by volume) and 20% binder.
I would love to get hold of some Metal-X filament and try to print it with an ordinary hobbyist machine to see what happens. If it turns out to need a heated chamber, that's doable, and if it turns out to need a hotter hot-end, that's doable too. There is actually some "A2 tool steel" filament in stock on their website (at time of writing), but it is going to cost $400 to have it shipped to me, which is a lot of money to spend only to find out that it's not going to work. And I don't actually know if they are willing to ship filament to people who haven't bought the $100k printer. But if they are, this might be a good place to get it.
2. Washing
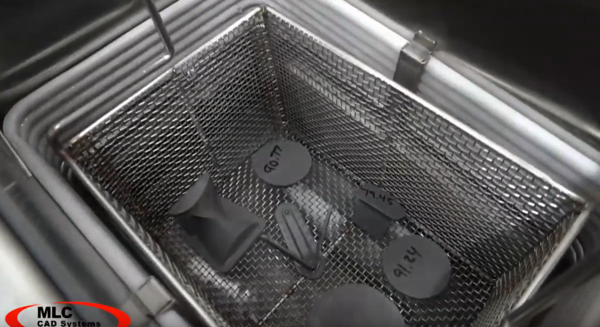
As far as I can tell, you just soak the part in an appropriate solvent (more on this later) for a while, until most of the binder has gone. You can check how much binder remains by weighing the part: when it has reduced in mass (by whatever percentage the binder is by mass), you know all the binder is gone. Although, I suspect you don't actually want to remove 100% of the binder as then you'd just be left with a pile of powder. In the picture, the operator has labelled each part with its original mass before washing.
The Markforged CAD software in the cloud (ugh) gives an estimate of the required printing and washing time:
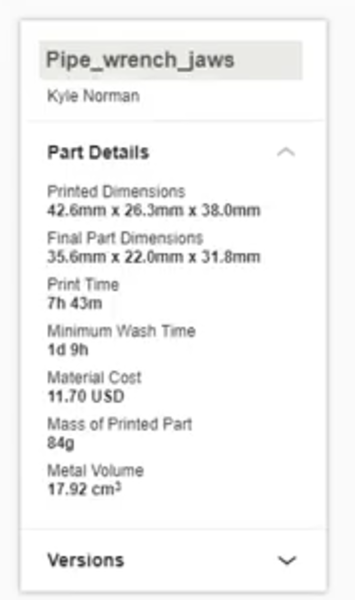
This 8-hour print is going to take 33 hours to wash! I imagine the washing step is quite necessary, otherwise it would not be worth spending 33 hours on, although I don't know what would actually go wrong if you just chucked the green part straight in the sintering furnace.
I don't know if the washing machine agitates or heats the solvent, but from our perspective this is just a case of figuring out the best process. There doesn't seem to be any complicated engineering here.
The washed part is considered "brown".
3. Sintering
Finally, the brown part is heated in a furnace to sinter the metal powder particles together.
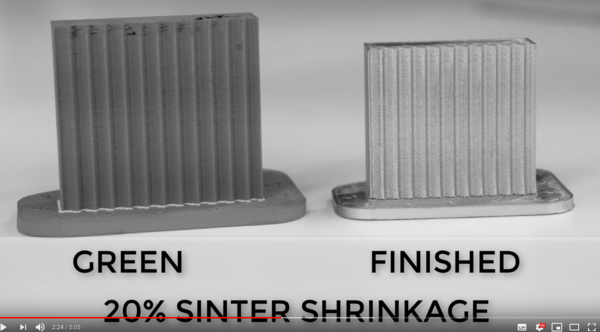
The finished part has shrunk in size by 20% because the binder material is no longer present.
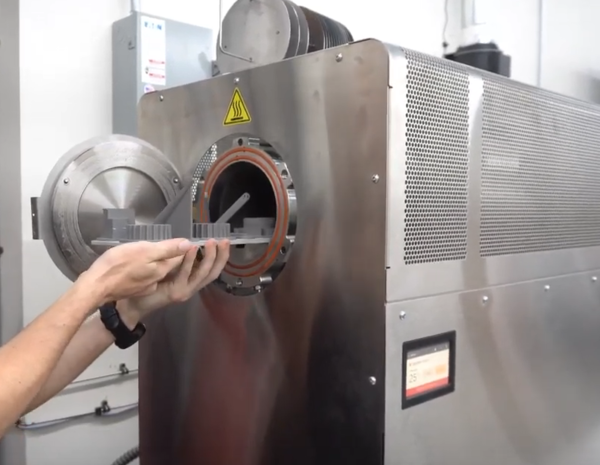
One of the few pieces of useful information available on the Markforged website is that their furnace can reach a peak temperature of 1300°C:
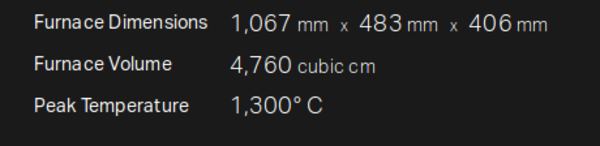
Most of the cheap furnaces I could find on eBay reported a max. temperature of about 1100°C, so we might need something more fancy here.
I suspect it is quite important that the chamber is heated uniformly to prevent the part from warping as it shrinks, but if we could produce even a warped 3d printed metal part, that would be a very good starting point. You'll also notice some o-rings around the door of the chamber, and the operator screws the door on before the heating starts. This implies that the furnace needs to be air-tight, possibly it is under vacuum to prevent the metal from oxidising.
If the furnace indeed needs to reach 1300°C, and needs to be under vacuum, then the furnace will probably end up being the most expensive part of this whole affair.
Metal Injection Moulding
Most of this process is exactly the same as in Metal Injection Moulding, except an FDM printer takes the place of the mould and injector.
Several different binders are used in MIM, some of which are water-soluble, and some of which require catalytic debinding in an "acidic gaseous atmosphere". Obviously it is more convenient for us if we can wash the green part in water rather than trying to safely contain an "acidic gaseous atmosphere".
Sourcing filament
Aside from buying filament from Markforged, there are a few more options.
I found a kickstarter from a few years ago called Sinterhard, whose goal was to produce filament for exactly this kind of process, although it never ended up succeeding. In the final update, they write:
4) We relatively quickly discovered that the target metal fill rates using PLA and ABS were making filament that would not spool [too stiff and too brittle].5) We exhausted trying plasticizers and lubricants to get a flexible high fill rate on the PLA and ABS. [Not to say it won't work, but we did not find the magic formula that did work]. Making "stick" filaments, with a new feed system is a viable alternative, however, that was not our mission goal.
And interestingly enough, there is a company Desktop Metal who sell a metal 3d printer that uses sticks instead of spools of filament. If stick-style material is easy to acquire, it would probably be easy enough to make an extruder that can use it. So this is another potential avenue to explore.
I also found out that BASF manufacture a product called Ultrafuse 316L, which is 90% stainless steel by mass. BASF give a lot more information than Markforged do. The Ultrafuse 316L is available in both 1.75mm and 2.85mm diameter, extrudes at 230°C-250°C, and wants a 90°C-120°C bed temperature, which is high but fine. So this stuff looks ideal, but as far as I can tell it isn't actually available to buy anywhere. Essentium have it listed for sale, but it's a "contact us to order" jobby, which implies we can't afford it. Matterhackers have it as "coming soon".
Failing all of the above, it's not completely implausible that we could buy MIM feedstock in pellet form and extrude it into filament at home. This is a rabbit hole I'd rather not go down, but it could be a possibility. And again, I don't know who would be willing to sell it cheaply in tiny quantities to hobbyists.
Help wanted
So, that's everything I know about MIM-style 3d metal printing. If you're interested in this project I want to hear from you.
I am particularly interested in hearing about: potential problems that I have overlooked, prior hobbyist efforts in this space, suggestions for how to cheaply build or acquire a suitable furnace, suppliers of MIM feedstock or filament who would be willing to sell to hobbyists, experience people have with the Metal-X or Desktop Metal machines, experience with the MIM process, experience with extruding your own filament.