Last modified: 2024-06-04 16:30:57
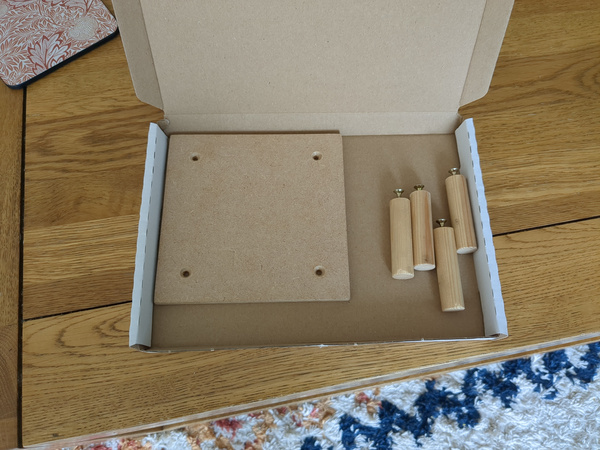
< 2024-06-01 2024-06-09 >I made this:
Lucy had some fun playing with it, she seems to understand that the screws go in the holes, and that she needs to apply the screwdriver to the screw, but she doesn't yet grasp that you tighten/loosen the screw by rotating. She keeps trying to push the screws in straight. Good progress though.
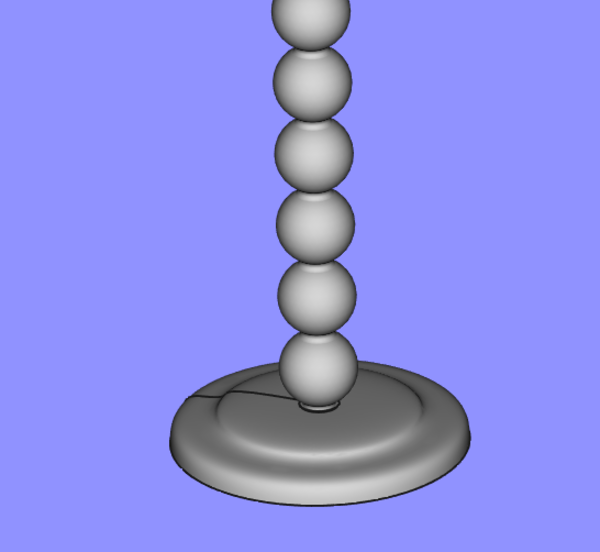
The design is kind of chosen just to be a smoothish shape that doesn't need too much material removal. Material removal is unwanted, because it takes a long time and makes the base lighter.
Flattened one side on the CNC machine:
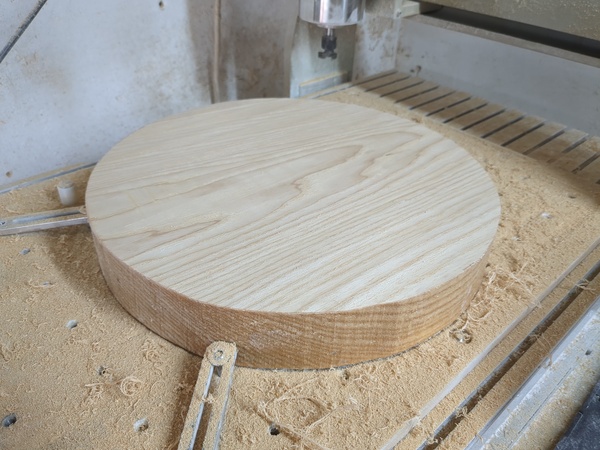
Now flip it over and make the actual shape.
First a half-hearted levelling of the table:
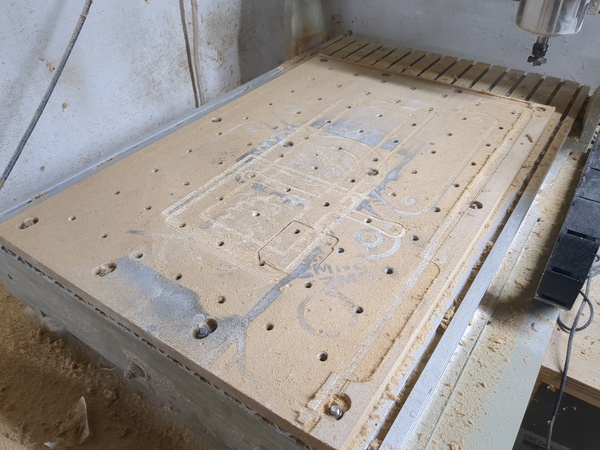
I should really make a new spoilboard. I'd want:
For cutting the lamp base I'm doing workholding with "superglue and tape". The tape is gaffa tape because I don't have any masking tape handy. I've never done it with gaffa tape before but I don't see why it wouldn't work. And in any case the workpiece is heavy enough that the workholding doesn't need to be too clever anyway.
Now that I have the base on the table, and the bottom is flattened, I can probe the height. I got 51mm. I only budgeted 45mm in CAD, but I can update that now to reduce the amount of material that needs removing, and make the base heavier.
First operation: make a 10mm hole in the top, for joining to the upright.
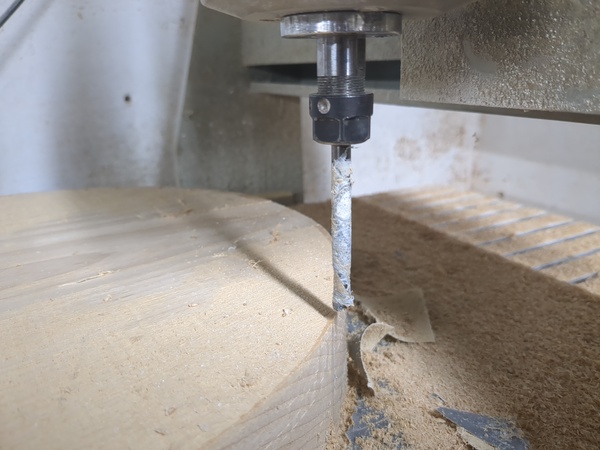
Second operation: profile the circle, with slowly decreasing diameter, until cutting all the way around.
Then update diameter in CAD to match, then run the 3d surfacing job.
In the profiling job, the spindle bearings are squealing like they're very much not happy.
Mostly went well, except the last pass picked up a load of gaffa tape and wrapped it around the tool:
Third operation: put the shoulder around the boss at the top
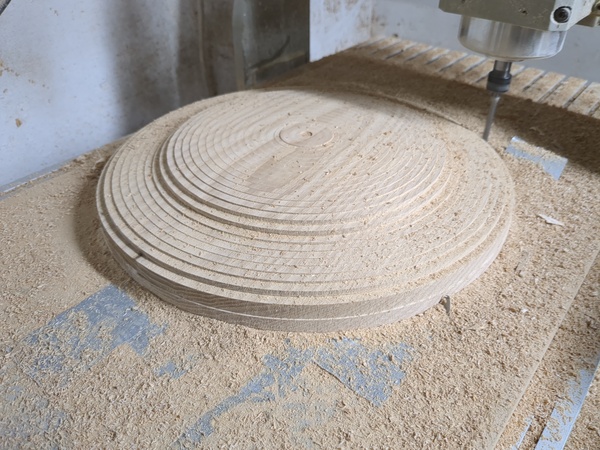
It took a very long time to generate the path for the 3d surface roughing operation, but I got it eventually:
But there is an awful bug. The "multi-pass" mode does the entire path each time, but with different Z limits. So the first time it goes over the entire part, cutting either to the final geometry, or to Z=-3. Then the next is Z=-6, etc. The problem is that it spends the majority of its time re-cutting geometry that is "above" the limit height, and the amount of time wasted gets worse and worse with each pass (as more of the final geometry has become exposed). This needs fixing. Or, Meshmill wants a spiral mode.
I wrote a quick hacky Perl script to postprocess the gcode to get rid of extraneous lines:
#!/usr/bin/perl

use strict;
use warnings;

my %donez;
my $z;
my $part;

while (my $line = <>) {
    chomp $line;
    if ($line =~ /Z([0-9.-]+)/) {
        $z = sprintf("%.1f", $1);
        print "$line\n" unless $z <= 0 and defined $part and $donez{$z}{$part};
    } elsif ($line =~ /--Break/) {
        $donez{$z}{$part} = 1;
        print "$line\n";
    } elsif ($line =~ /\(part (\d+)\)/) {
        $part = $1;
        print "$line\n";
    } else {
        print "$line\n";
    }
}
Then stopped the job, deleted the lines that had already been done, and restarted with the trimmed job. It reduced the estimated remaining runtime from over 2 hours to only 15 minutes. Great success.
Here it is with roughing almost finished: