I wanted to make some custom spray-painting stencils. I've done it before by printing on paper and cutting out the shapes, but found it to be laborious and time-consuming. Also the stencils don't last for more than a couple of uses before the paper gets too soggy.
But I have a 3d printer, so I ought to be able to do better.
I couldn't work out how to use FreeCAD to do this, and I'm not familiar enough with any other CAD software. (I think it should be possible to do this natively in OpenSCAD, which might be a better way to go as it'll generate more well-optimised meshes).
Anyway, the STL file format is quite simple, so I wrote a short perl script to read in a PNG image and output a triangle mesh which I could then load straight into Slic3r to send to the 3d printer.
There is quite an elegant algorithm to convert the black-and-white image into a triangle mesh. You just need to iterate over every pixel in the input image and:
- if it's black, insert a square face above and below the pixel
- if it's a different colour to its left neighbour, insert a square face to the left of the pixel
- if it's a different colour to its top neighbour, insert a square face to the top of the pixel
A "square face" is just 2 triangles, because STL only supports triangles. You'll note that large flat square areas end up with thousands of triangles where only 2 are necessary. This causes large file sizes and slow loading times in the slicer. I have a few ideas for optimising the mesh, but hopefully I can find an existing program to do it for me. I've not looked yet.
(The script is quite unfinished and not suitable for use, but might be a good starting point if you intend to do something similar. It needs to take options via CLI instead of hard-coded, and it ought to optimise the mesh a bit. It would also benefit from outputting the binary STL format instead of the text version.)
I downloaded a Bitcoin symbol image from a page on the Bitcoin.it wiki:

and modified it to be black-and-white and keep the centres of the B's attached:

I then ran my perl script and loaded the STL file in Slic3r:
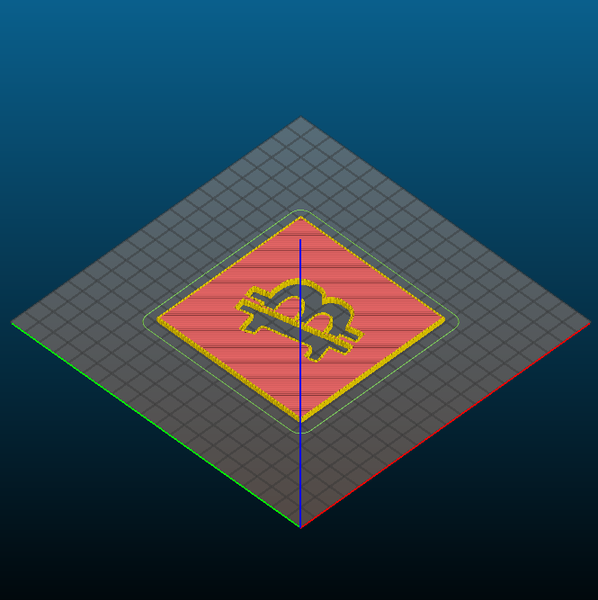
(Although I didn't notice at the time, my script actually generated the model upside down by assuming (0,0) is at top-left instead of bottom-left. Not a problem though, you can just flip the stencil over.)
The stencil is 10cm by 10cm by 3mm, and took about 45 minutes to print on my printer.
Size is the biggest limitation of this method. The print bed on my printer is 20cm by 20cm, with a usable area a few cm under that. If you don't want overspray, and you don't want to have to mask around the edges of the stencil, you also need a good margin of stencil material around the shape itself, leaving you with a practical image size of not much more than 10cm by 10cm.
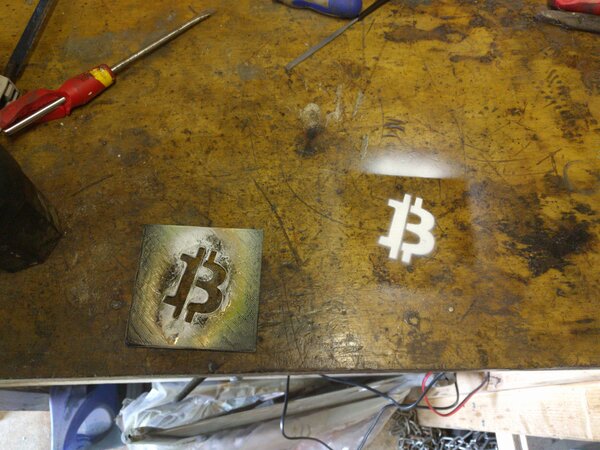
Here's the finished stencil, next to a test spray:
I've spent less than a morning on this project and am very satisfied with the result so far. I will certainly be making some improvements and printing some more stencils. I'd also like to create a web interface to the program to make it easier for others to use. You'd just have to upload an image, specify dimensions for the stencil, and then you'd get an STL file generated and ready to go.
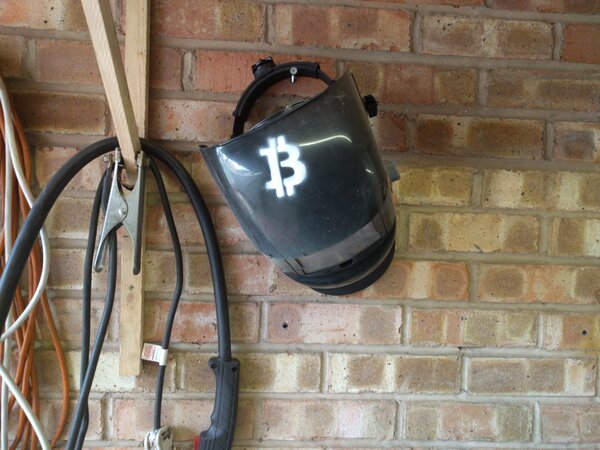
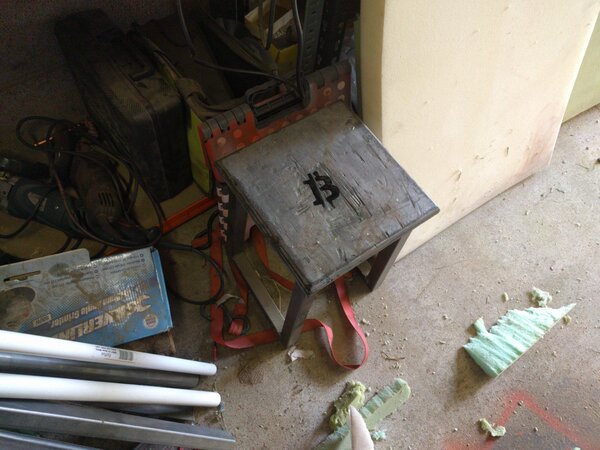
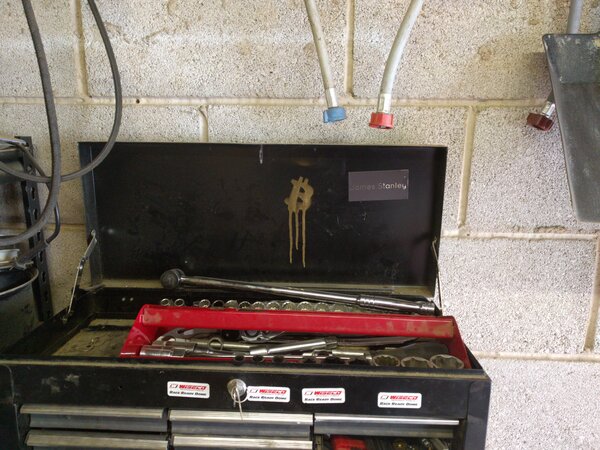
Here are a few more Bitcoin symbols I sprayed around my garage: